Alright, let’s talk about something kinda life-changing—baking cake in the air fryer. Yep, you heard that right. If you’ve never tried an Air Fryer Cake, you are seriously missing out. It’s fast, easy, and makes the most moist red velvet cake ever. And as a mom of three, I’m all about shortcuts that actually work.
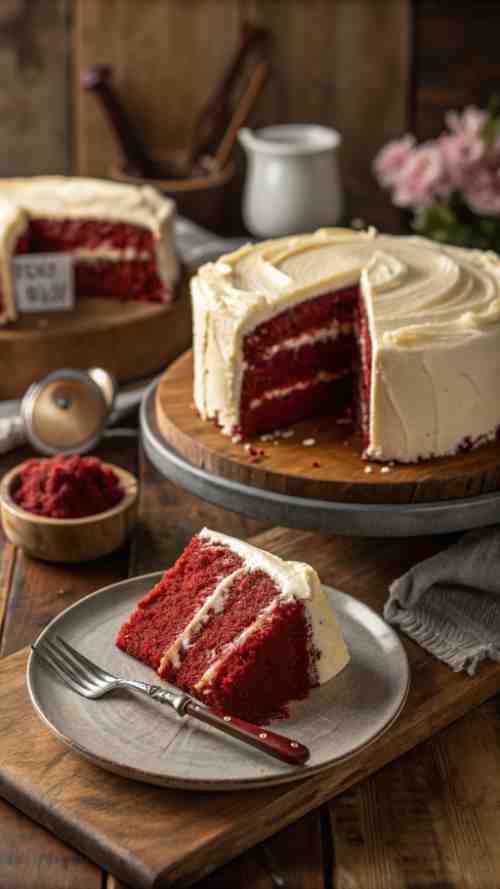
This Easy Red Velvet Cake Recipe is one of my go-to air fryer cake recipes when I need a quick dessert that still feels homemade. No need to crank up the oven, wait forever, or deal with a messy kitchen. Just mix, pour, and let the air fryer work its magic. It bakes up soft, fluffy, and full of that classic red velvet cake flavor. If you’re searching for a homemade red velvet cake recipe that’s actually doable on a busy day, this is the one.
And if you’re more of a visual learner (like me), you can totally find cake recipe videos for step-by-step help. But trust me, this recipe is so simple, you won’t even need one. So whether you’re making it for a special occasion or just craving something sweet, this velvet cake is about to be your new favorite. Let’s get baking!
Why You’ll Love This Recipe
- No oven, no problem – Perfect for when you don’t want to heat up the house.
- Super simple – One bowl, no fancy techniques, just mix and go.
- Small batch – Makes the perfect amount of cake without leaving you with leftovers that tempt you all week.
- That homemade touch – Store-bought cakes don’t even come close.
Ingredients You’ll Need
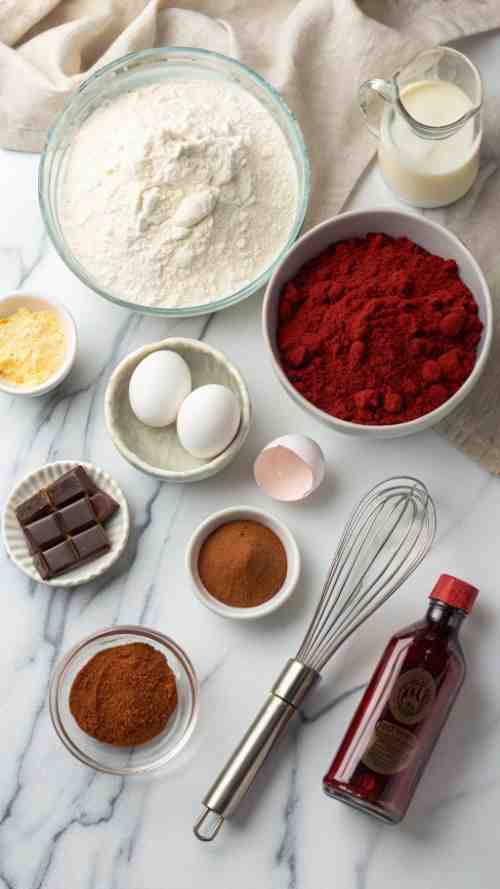
For the Cake:
- 1 cup all-purpose flour
- ½ cup sugar
- 1 tablespoon cocoa powder
- ½ teaspoon baking soda
- ½ teaspoon baking powder
- ¼ teaspoon salt
- ½ cup buttermilk (or milk + vinegar, see tip below)
- ¼ cup vegetable oil
- 1 egg
- 1 teaspoon vanilla extract
- 1 teaspoon vinegar (white or apple cider)
- 1 tablespoon red food coloring
For the Cream Cheese Frosting:
- 4 ounces cream cheese, softened
- 2 tablespoons butter, softened
- 1 cup powdered sugar
- ½ teaspoon vanilla extract
How to make the Air Fryer Red Velvet Cake
Step 1: Prep Your Air Fryer
First things first—preheat your air fryer to 320°F. Not all air fryers need preheating, but I like to do it anyway so the cake bakes evenly.
Next, grab a 6-inch cake pan (or any small oven-safe dish) and grease it up with some oil or butter. You don’t want your cake sticking to the pan—been there, done that, not fun.
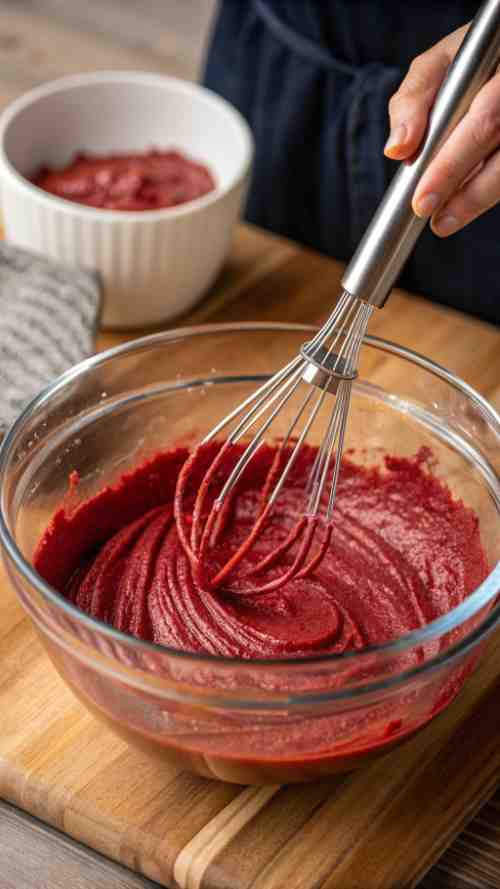
Step 2: Mix the Cake Batter
Now, let’s make some magic.
In one bowl:
Whisk together all the dry ingredients—flour, sugar, cocoa powder, baking soda, baking powder, and salt. Give it a good mix so everything is evenly combined.
In another bowl:
Mix all the wet ingredients— buttermilk, oil, egg, vanilla, vinegar, and food coloring. Stir until smooth.
Now, slowly add the dry ingredients into the wet ingredients and mix until just combined. Don’t overmix or your cake might turn out tough.
Step 3: Bake It in the Air Fryer
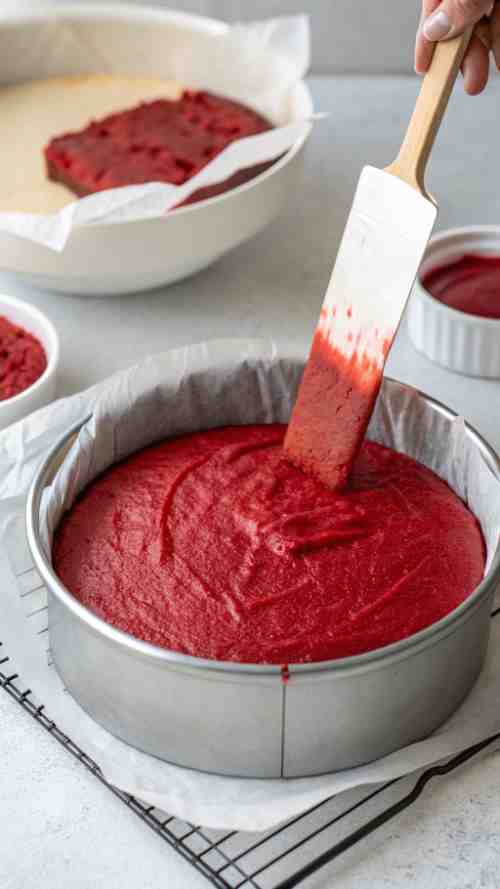
Pour your batter into the greased cake pan, then place it into the air fryer.
Set it to 320°F and let it bake for 25–30 minutes. I usually check around 25 minutes by sticking a toothpick in the middle—if it comes out clean, it’s done.
Once it’s baked, take it out and let it cool completely before frosting. I know it’s tempting to just slather on that frosting right away, but if you do, it’ll melt into a mess.
Step 4: Make the Frosting
While your cake is cooling, let’s whip up that cream cheese frosting.
- In a bowl, beat together the cream cheese and butter until smooth and creamy.
- Add in the powdered sugar and vanilla extract, then mix until fluffy.
- Try not to eat it all with a spoon before the cake is ready.
Step 5: Frost and Serve
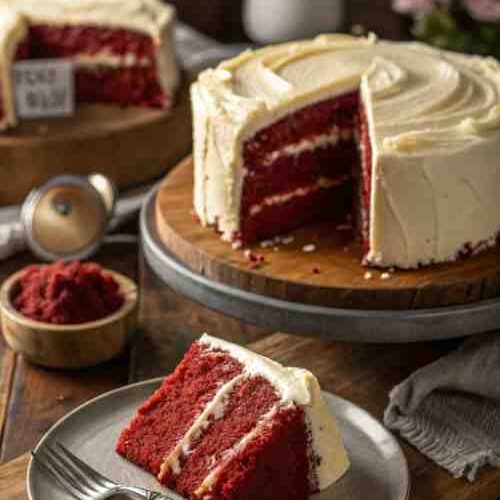
Once your cake is fully cooled, spread the frosting all over. You can get fancy with it, or just go full-on slather mode.
Slice it up, serve it with a glass of milk, and enjoy every soft, chocolatey bite.
Pro Tips for the Best Cake
- No buttermilk? No problem. Just mix ½ cup milk with ½ tablespoon vinegar and let it sit for 5 minutes. Instant buttermilk.
- Every air fryer is different. Some cook faster than others, so always check for doneness at 25 minutes and add time if needed.
- Let it cool before frosting. Melted frosting is not the vibe.
- No cake pan? You can use a small oven-safe dish or even a deep aluminum foil pan.
FAQs
What size pan should I use for an air fryer cake?
A 6-inch round cake pan works best, but you can also use any small oven-safe dish that fits inside your air fryer. If using ramekins, you may need to adjust the cooking time.
How do I keep my red velvet cake moist?
This moist red velvet cake recipe stays soft because of the buttermilk and oil in the batter. Just be sure not to overbake it! Check for doneness at 25 minutes and add time if needed.
Can I make this cake ahead of time?
Yes! You can bake the cake a day or two in advance. Store it covered at room temperature for up to 2 days or in the fridge for up to 5 days. Just frost it before serving for the best texture.
Can I freeze this cake?
Absolutely! Wrap the cooled, unfrosted cake tightly in plastic wrap and store it in the freezer for up to 3 months. When ready to eat, let it thaw at room temp, then frost and serve.
Air Fryer Red Velvet Cake Recipe Card
Air Fryer Red Velvet Cake
Ingredients
For the Cake:
- 1 cup all-purpose flour
- ½ cup sugar
- 1 tablespoon cocoa powder
- ½ teaspoon baking soda
- ½ teaspoon baking powder
- ¼ teaspoon salt
- ½ cup buttermilk or substitute with milk and vinegar
- ¼ cup vegetable oil
- 1 egg
- 1 teaspoon vanilla extract
- 1 teaspoon vinegar white or apple cider
- 1 tablespoon red food coloring
For the Cream Cheese Frosting:
- 4 ounces cream cheese softened
- 2 tablespoons butter softened
- 1 cup powdered sugar
- ½ teaspoon vanilla extract
Instructions
Prep Your Air Fryer and Cake Pan
- Preheat air fryer to 320°F.
- Grease a 6-inch cake pan with oil or butter.
Mix the Cake Batter
- In a bowl, whisk together flour, sugar, cocoa powder, baking soda, baking powder, and salt.
- In another bowl, mix buttermilk, oil, egg, vanilla, vinegar, and food coloring.
- Combine wet and dry ingredients, stirring until just mixed.
Air Fry the Cake
- Pour batter into the prepared cake pan.
- Air fry at 320°F for 25-30 minutes, checking for doneness with a toothpick.
Cool and Make Frosting
- Let the cake cool completely before frosting.
- Beat cream cheese and butter until smooth. Add powdered sugar and vanilla, mixing until fluffy.
Frost and Serve
- Spread frosting over the cooled cake. Slice and enjoy.
Notes
Pro Tips
- No buttermilk? Mix ½ cup milk with ½ tablespoon vinegar, let sit for 5 minutes.
- Check cake at 25 minutes—every air fryer is different.
- Store leftovers covered at room temperature for up to two days or in the fridge for up to five days.
And just like that, you’ve made a red velvet cake without even turning on the oven. Pretty cool, right? If you haven’t tried making an air fryer cake before, I promise this is one of those easy red velvet cake recipes you’ll wanna keep around. It’s quick, simple, and turns out soft and fluffy every time. Plus, no one will ever guess it came from an air fryer.
Whether you’re baking for a special occasion or just craving something sweet, this homemade red velvet cake recipe is the perfect treat. And if you love trying new air fryer cake recipes, this one’s a total winner. It’s got that rich, classic flavor you expect from a moist red velvet cake recipe, and trust me, it’s way too good to resist.
So go ahead, save this red velvet cake recipe from scratch, share it with a friend, or even check out some cake recipe videos if you need a little extra guidance. The best part? You now have an easy way to make velvet cake without all the hassle. Let me know if you try it—I’d love to hear how it turns out!